How to Achieve a Perfect Milky White Gel Polish Manicure at Home?
Milky white gel polish is a classic and timeless nail color that never goes out of style. Achieving a perfect milky white gel polish manicure at home can be easy if done correctly. In this article, we will discuss step-by-step how to achieve a perfect milky white gel polish manicure at home.
Contents
hide
Step 1 Prepare your nails
Start by preparing your nails for the manicure. Remove any nail polish and trim your nails to your desired length. Use a nail buffer to gently buff the surface of the nails to remove any ridges or bumps.
Step 2 Apply a base coat
Apply a thin layer of base coat to your nails to protect them from staining, increase the wear time of the polish, and create a smooth surface for the polish to adhere to. Allow the base coat to dry for a few minutes.
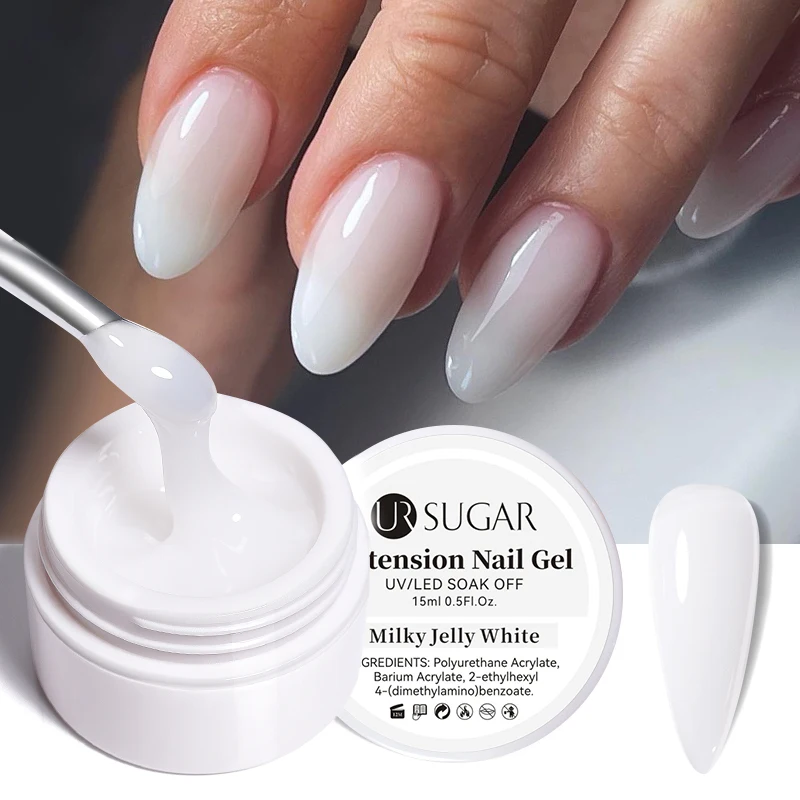
Step 3 Apply the milky white gel polish
Using a milky white gel polish of your choice, apply a thin layer to the nails. Be careful not to apply the polish too thickly, as this can cause the polish to peel or chip. Apply the polish in thin, even strokes, and make sure that the edges of the nails are covered. Cure the polish under a UV lamp for two minutes.
Step 4 Apply a second coat of milky white gel polish
Apply a second thin layer of milky white gel polish to the nails. Again, be careful not to apply the polish too thickly. Cure the polish under a UV lamp for two minutes.
Step 5 Apply a top coat
Apply a thin layer of top coat to the nails to protect the polish and give it a glossy finish. Cure the polish under a UV lamp for two minutes.
Step 6 Clean up the cuticles
Using a brush dipped in acetone or gel polish remover, carefully clean up any excess polish around the cuticles or edges of the nails.
Step 7 Moisturize your nails and cuticles
Apply cuticle oil or moisturizer to your nails and cuticles to keep them hydrated and healthy.
How to Safely and Effectively Remove Gel Polish at Home?
Gel polish has gained popularity because of its durability and long-lasting wear. However, when it’s time to remove it, some might find it challenging to remove it without damaging their nails. In this article, we will discuss how to safely and effectively remove gel polish at home.
Firstly
it’s important to gather all the necessary tools before starting the removal process. You will need a nail file, tin foil, cotton balls, and acetone or gel polish remover. Note that acetone is a harsh chemical that can dry out the nails, so it’s advisable to use a non-acetone gel polish remover if possible.
Next
use the nail file to lightly buff the top layer of the gel polish. This will help to break the seal and allow the acetone or gel polish remover to penetrate the polish more efficiently. Be careful not to over-file as this can cause damage to the nails.
After buffing
tear small pieces of tin foil and wrap them around each nail, making sure the cotton balls are placed over the gel polish. This will help to create a tight seal around the nails, ensuring that the remover does not evaporate and is more effective.
Soak the cotton ball with acetone or gel polish remover, and place it on your nail. Wrap the tin foil around your finger to secure the cotton ball. Repeat the process for all your nails.
Leave the cotton balls and tin foil on your nails for 10-15 minutes. After that, check to see if the gel polish has started to lift off the nails. If it hasn’t, leave it on for a few more minutes.
Once the gel polish has started to lift off, remove the foil wraps and use a cuticle pusher to gently push the gel polish off the nails. If there are any remaining bits of polish, use the nail file to gently buff them off.
Finally, wash your hands with soap and water to remove any remaining polish and acetone residue. Apply cuticle oil and moisturizer to hydrate your nails and skin.
In conclusion, removing gel polish at home can be easy and safe if done correctly. By gathering the necessary tools, buffing the nails, creating a tight seal with tin foil, using acetone or gel polish remover, and gently pushing off the polish, you can remove the gel polish without damaging your nails. Remember to always moisturize your nails and skin after removal to prevent any dryness or damage.