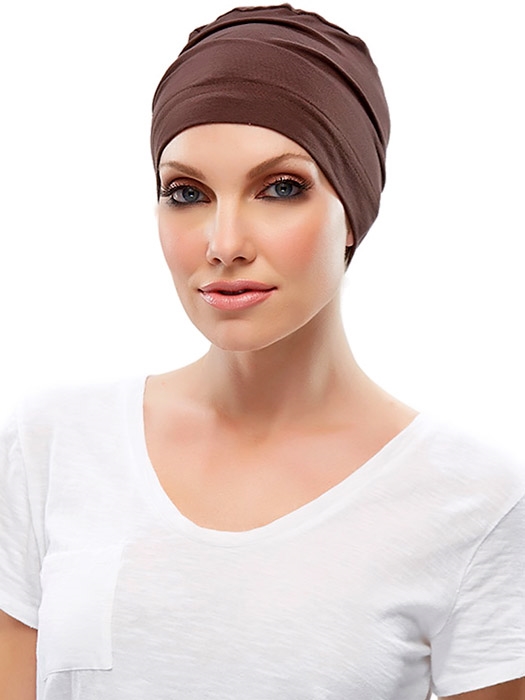
DIY bald caps at home: Making your own bald cap without special tools
DIY bald caps have gained popularity in recent years, as more and more people look for ways to experiment with their appearance without having to go to a professional. Although it may seem challenging to make a bald cap without special tools, it is entirely possible to create one at home with just a few materials. In this blog post, we will guide you through the steps to make your own bald cap at home.

Materials:
-Makeup sponges
-Skin-safe liquid adhesive
-Baby powder or cornstarch
-Air-dry clay or liquid latex
-Paintbrush
Step 1: Prep Your Hair
Before you start applying the bald cap, you’ll need to prep your hair. Tie your hair back tightly and use bobby pins to secure any loose strands. You can also wear a wig cap to keep your hair in place.
Step 2: Create a Head Mold
To create a bald cap that fits your head perfectly, you’ll need to create a head mold. Start by wrapping your head in plastic wrap, making sure to cover your hairline and ears. Then, layer masking tape over the plastic wrap, shaping it to fit the contours of your head.
Step 3: Apply Adhesive
Once you have your head mold, it’s time to start applying the adhesive. Use a makeup sponge to apply a layer of adhesive over your entire head, making sure to cover your hairline and the edges of the mold. Be careful not to get adhesive in your hair.
Step 4: Apply Baby Powder or Cornstarch
After you apply the adhesive, sprinkle baby powder or cornstarch over it. This helps to dry the adhesive and prevent it from sticking to itself.
Step 5: Apply Clay or Latex
Next, apply a layer of air-dry clay or liquid latex over the adhesive. Use a paintbrush to apply the material, making sure to blend it in along the edges of the mold. You’ll need to apply several layers, waiting for each layer to dry before applying the next.
Step 6: Remove the Bald Cap
Once the final layer has dried completely, carefully peel the bald cap off your head. If you find that the bald cap is sticking to your hair or skin, apply more baby powder or cornstarch to ease the removal process.
Step 7: Customize Your Bald Cap
Now that you have your bald cap, you can customize it to your liking. You can use makeup to add skin tones and texture, or use special effects makeup to create scars or wrinkles. You can also cut the bald cap to fit your desired style. If you want a more natural looking hairline, you can cut small slits around the edge of the cap and pull out some hairs for a more realistic effect.
Step 8: Finishing Touches
Once you have customized your bald cap to your liking, it’s time to put it on. Be sure to use a skin-safe adhesive to apply the cap, and follow the instructions carefully to avoid any irritation or discomfort.
Tips and Tricks:
-Clean your bald cap thoroughly after each use to ensure it lasts longer
-Experiment with different materials and techniques to find the one that works best for you
-Practice applying and removing the cap several times before wearing it in public
-Make sure to protect your skin from any products that may cause irritation or an allergic reaction
Conclusion:
Making a DIY bald cap at home is a fun and creative way to experiment with your appearance and try out new styles. It takes a bit of patience and practice, but with the right materials and techniques, you can create a bald cap that fits your head perfectly and looks amazing. Whether you want to use it for a costume, a photoshoot, or just for fun, a DIY bald cap is a great way to express your individuality and embrace your unique style.