Seamless Styling with 20 Inch Hair Extensions: Micro Extensions
Contents
hide
Types of 20 Inch Hair Extensions
Experiencing the joy of instant length and volume with 20 inch hair extensions comes with various options. Each type caters to different preferences and lifestyles. Let’s explore these types.
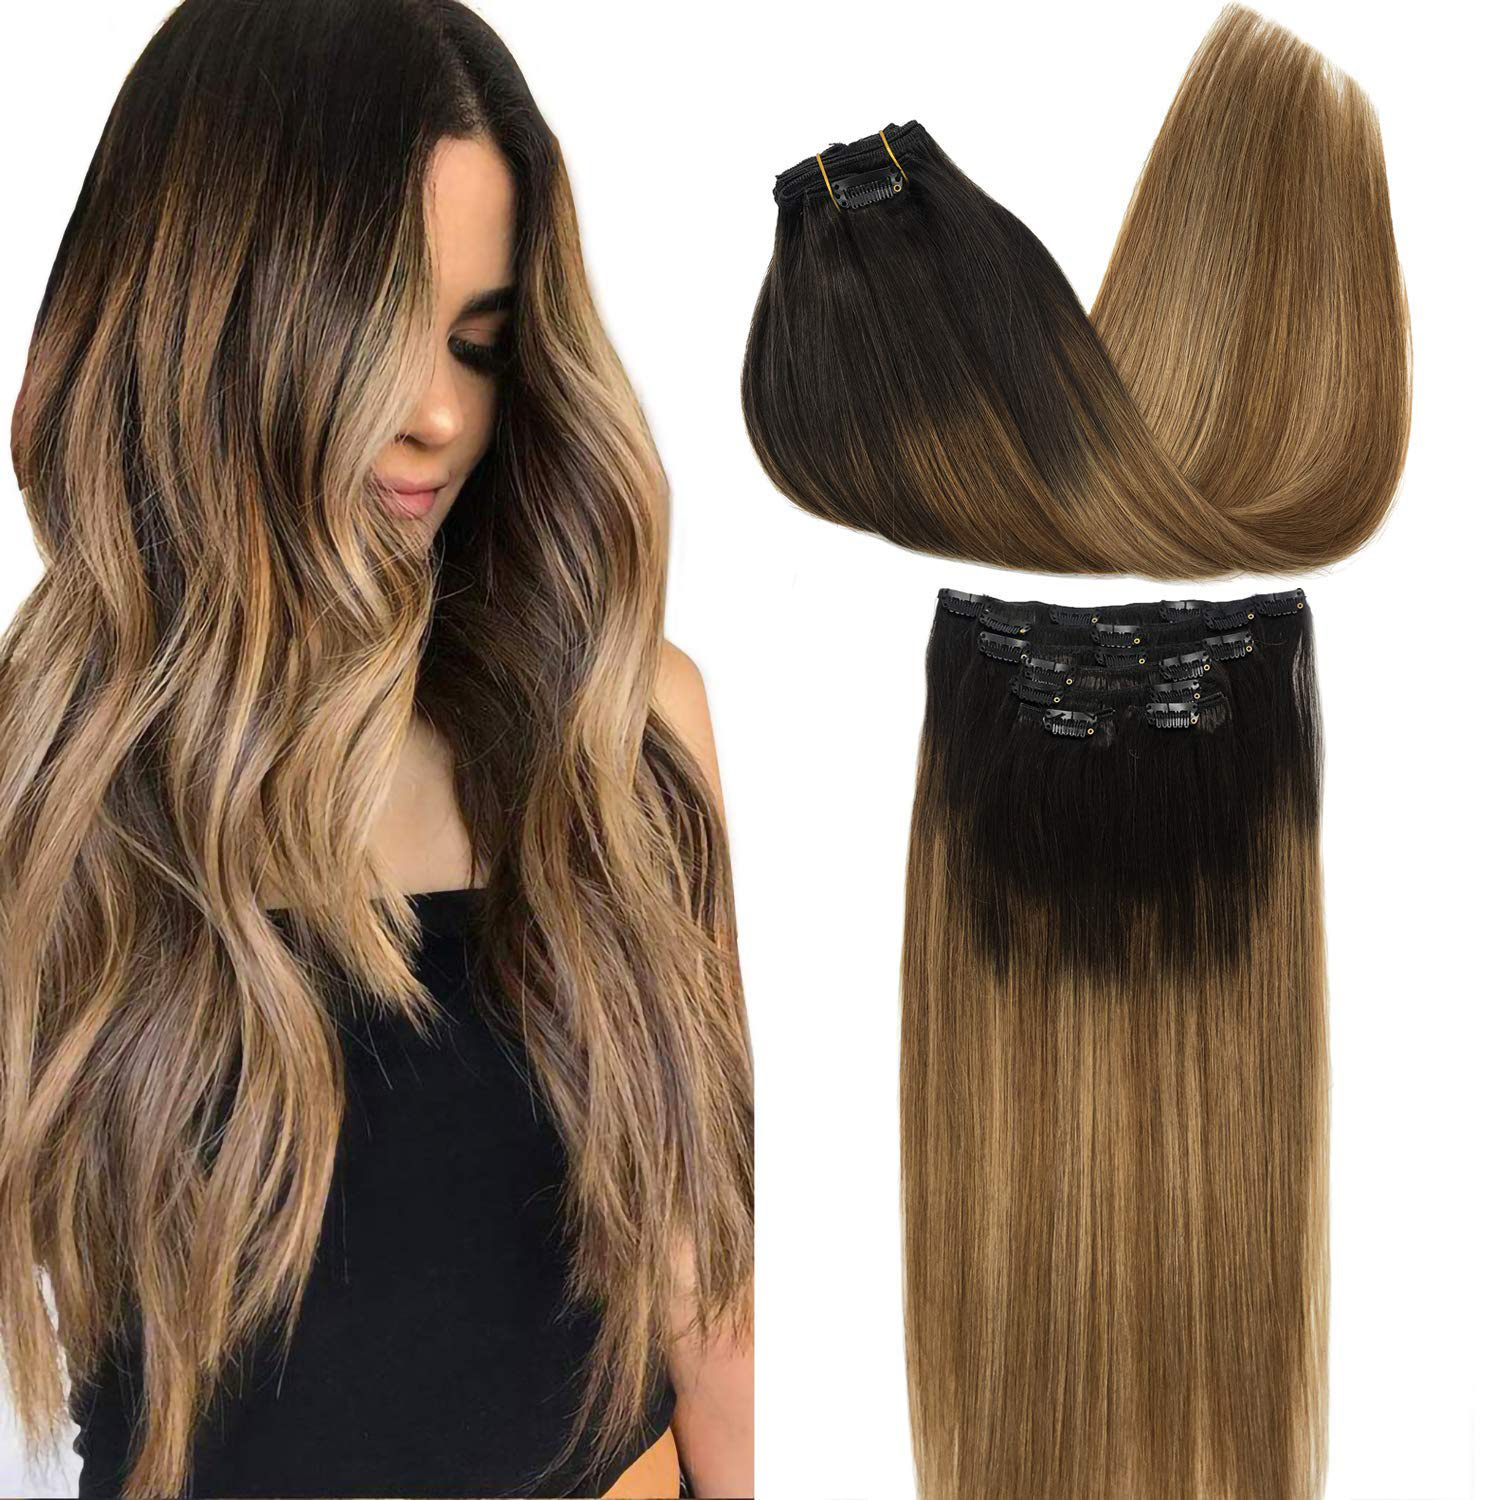
Clip-In Extensions
Clip-in extensions are a quick fix for a glamorous look. They are temporary and easy to attach. You can clip them in and out in minutes, without needing professional help. They’re perfect for special occasions or a night out.
Sew-In Wefts
Sew-in wefts are a more permanent solution. A stylist braids your natural hair and then sews the extensions in. This method lasts longer and usually suits those with thicker hair. However, it requires regular maintenance at the salon.
Tape-In Extensions
Tape-in extensions blend seamlessly with your natural hair. They involve pre-taped wefts fixed by sandwiching small sections of your hair between the tapes. They are less damaging than sew-ins and last for six to eight weeks with proper care.
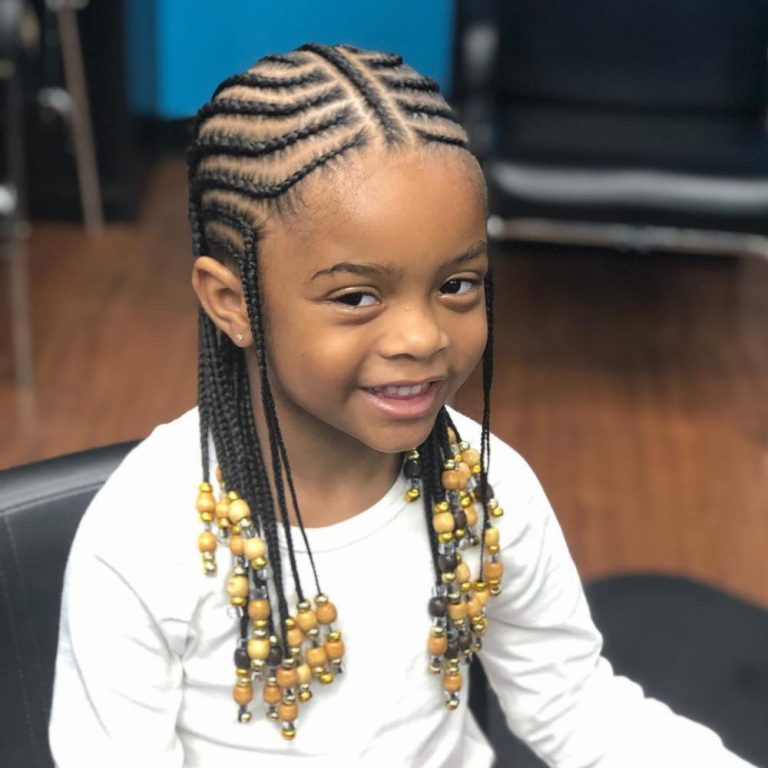
Micro Link Extensions
Micro link extensions use small beads to attach the extension to your natural hair. They require no heat or glue, which protects your hair from damage. Skilled installation is crucial to prevent slipping or tangling. This method is ideal for those seeking a semi-permanent option.

Benefits of Choosing 20 Inch Extensions
Choosing 20 inch hair extensions can transform your look and style in numerous ways. Here, we discuss the standout benefits that make them a popular choice for enhancing natural hair.
Added Length and Volume
One of the most appealing benefits is the instant addition of length and volume. If you struggle with slow-growing hair or thinning locks, 20 inch hair extensions provide a quick and effective solution. The added fullness can also give a healthy and vibrant look to your overall appearance, boosting your confidence.
Versatility in Styling
With added length, the possibilities for styling multiply. You have the freedom to experiment with different hairstyles that might have been impossible with shorter hair. Whether it’s a high ponytail, long braids, or lush curls, 20 inch extensions offer the flexibility to switch up your look without commitment.
Low Maintenance Options
While it might seem that longer hair requires more care, certain types of 20 inch extensions offer low maintenance alternatives. For example, clip-in extensions can be easily removed before bed or swimming, minimizing the need for daily upkeep. Tape-in and micro link options, when installed correctly, can be managed with similar care routines as your natural hair, making them convenient for everyday wear.
How to Select the Best 20 Inch Extensions
Selecting the best 20 inch hair extensions requires a thoughtful approach. Here’s how to ensure you choose the right extensions for your hair.
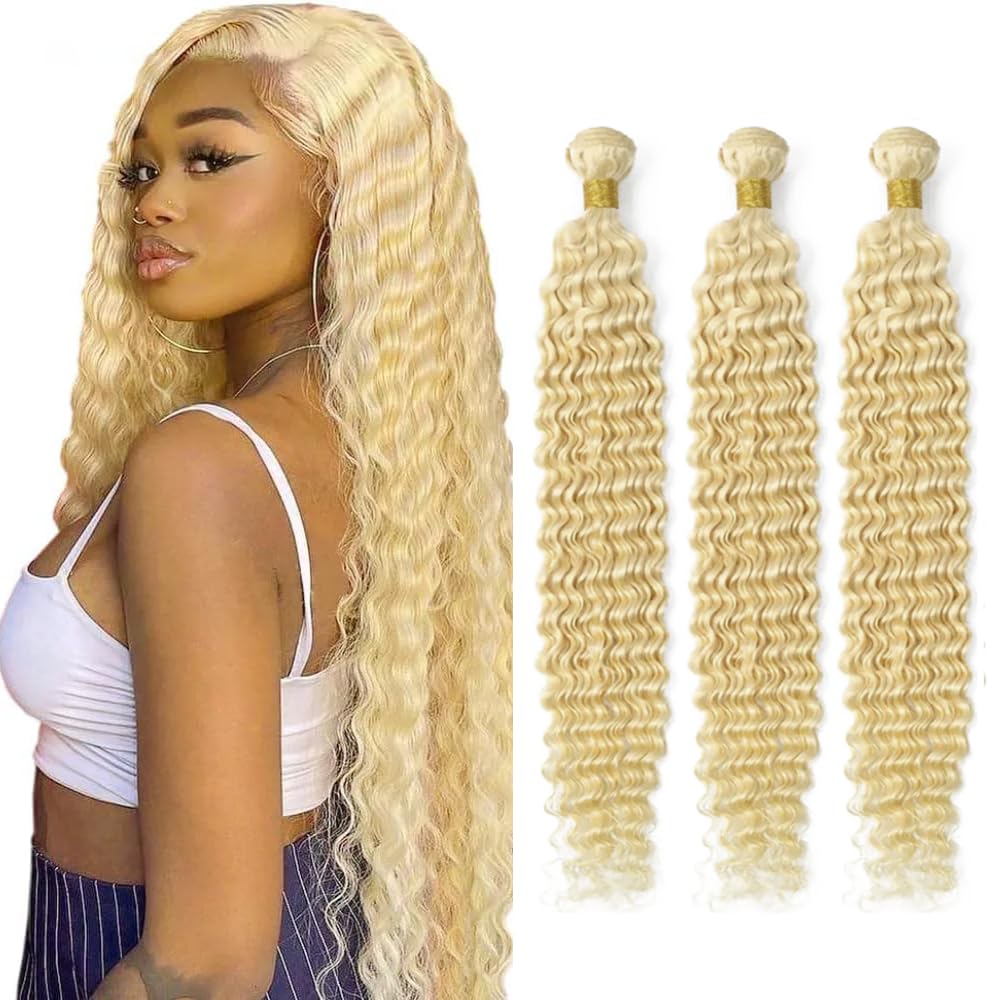
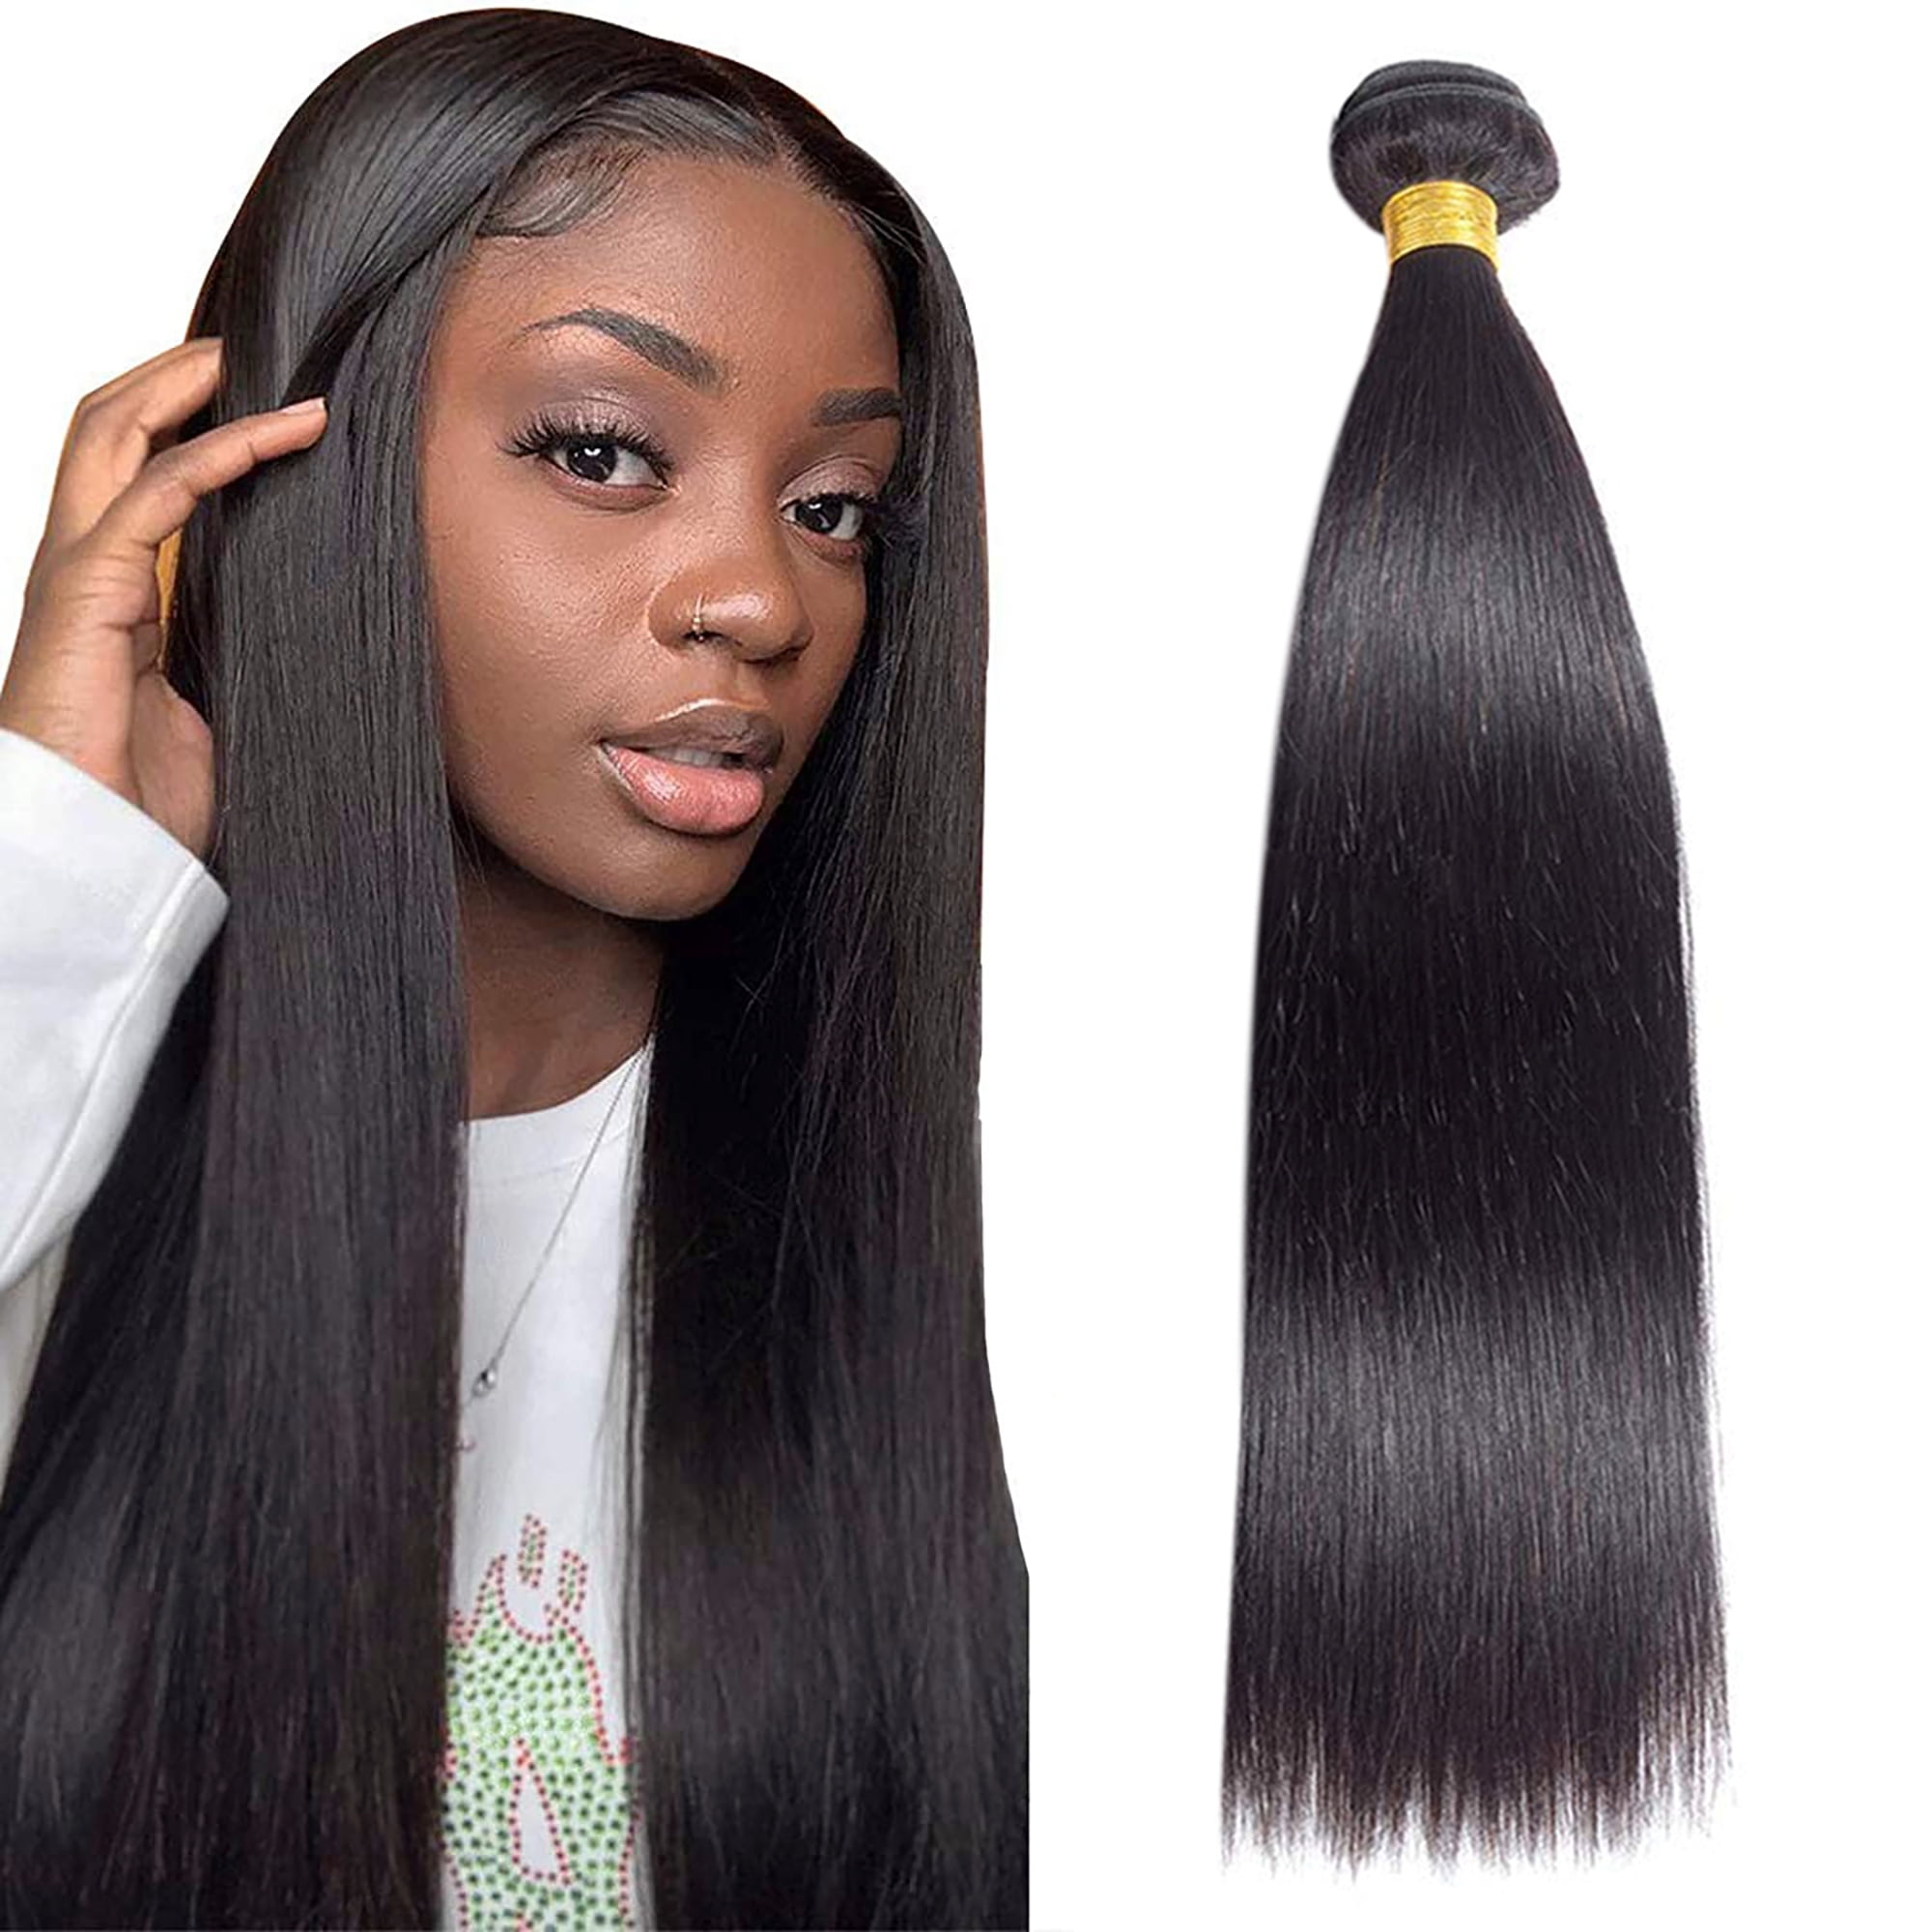
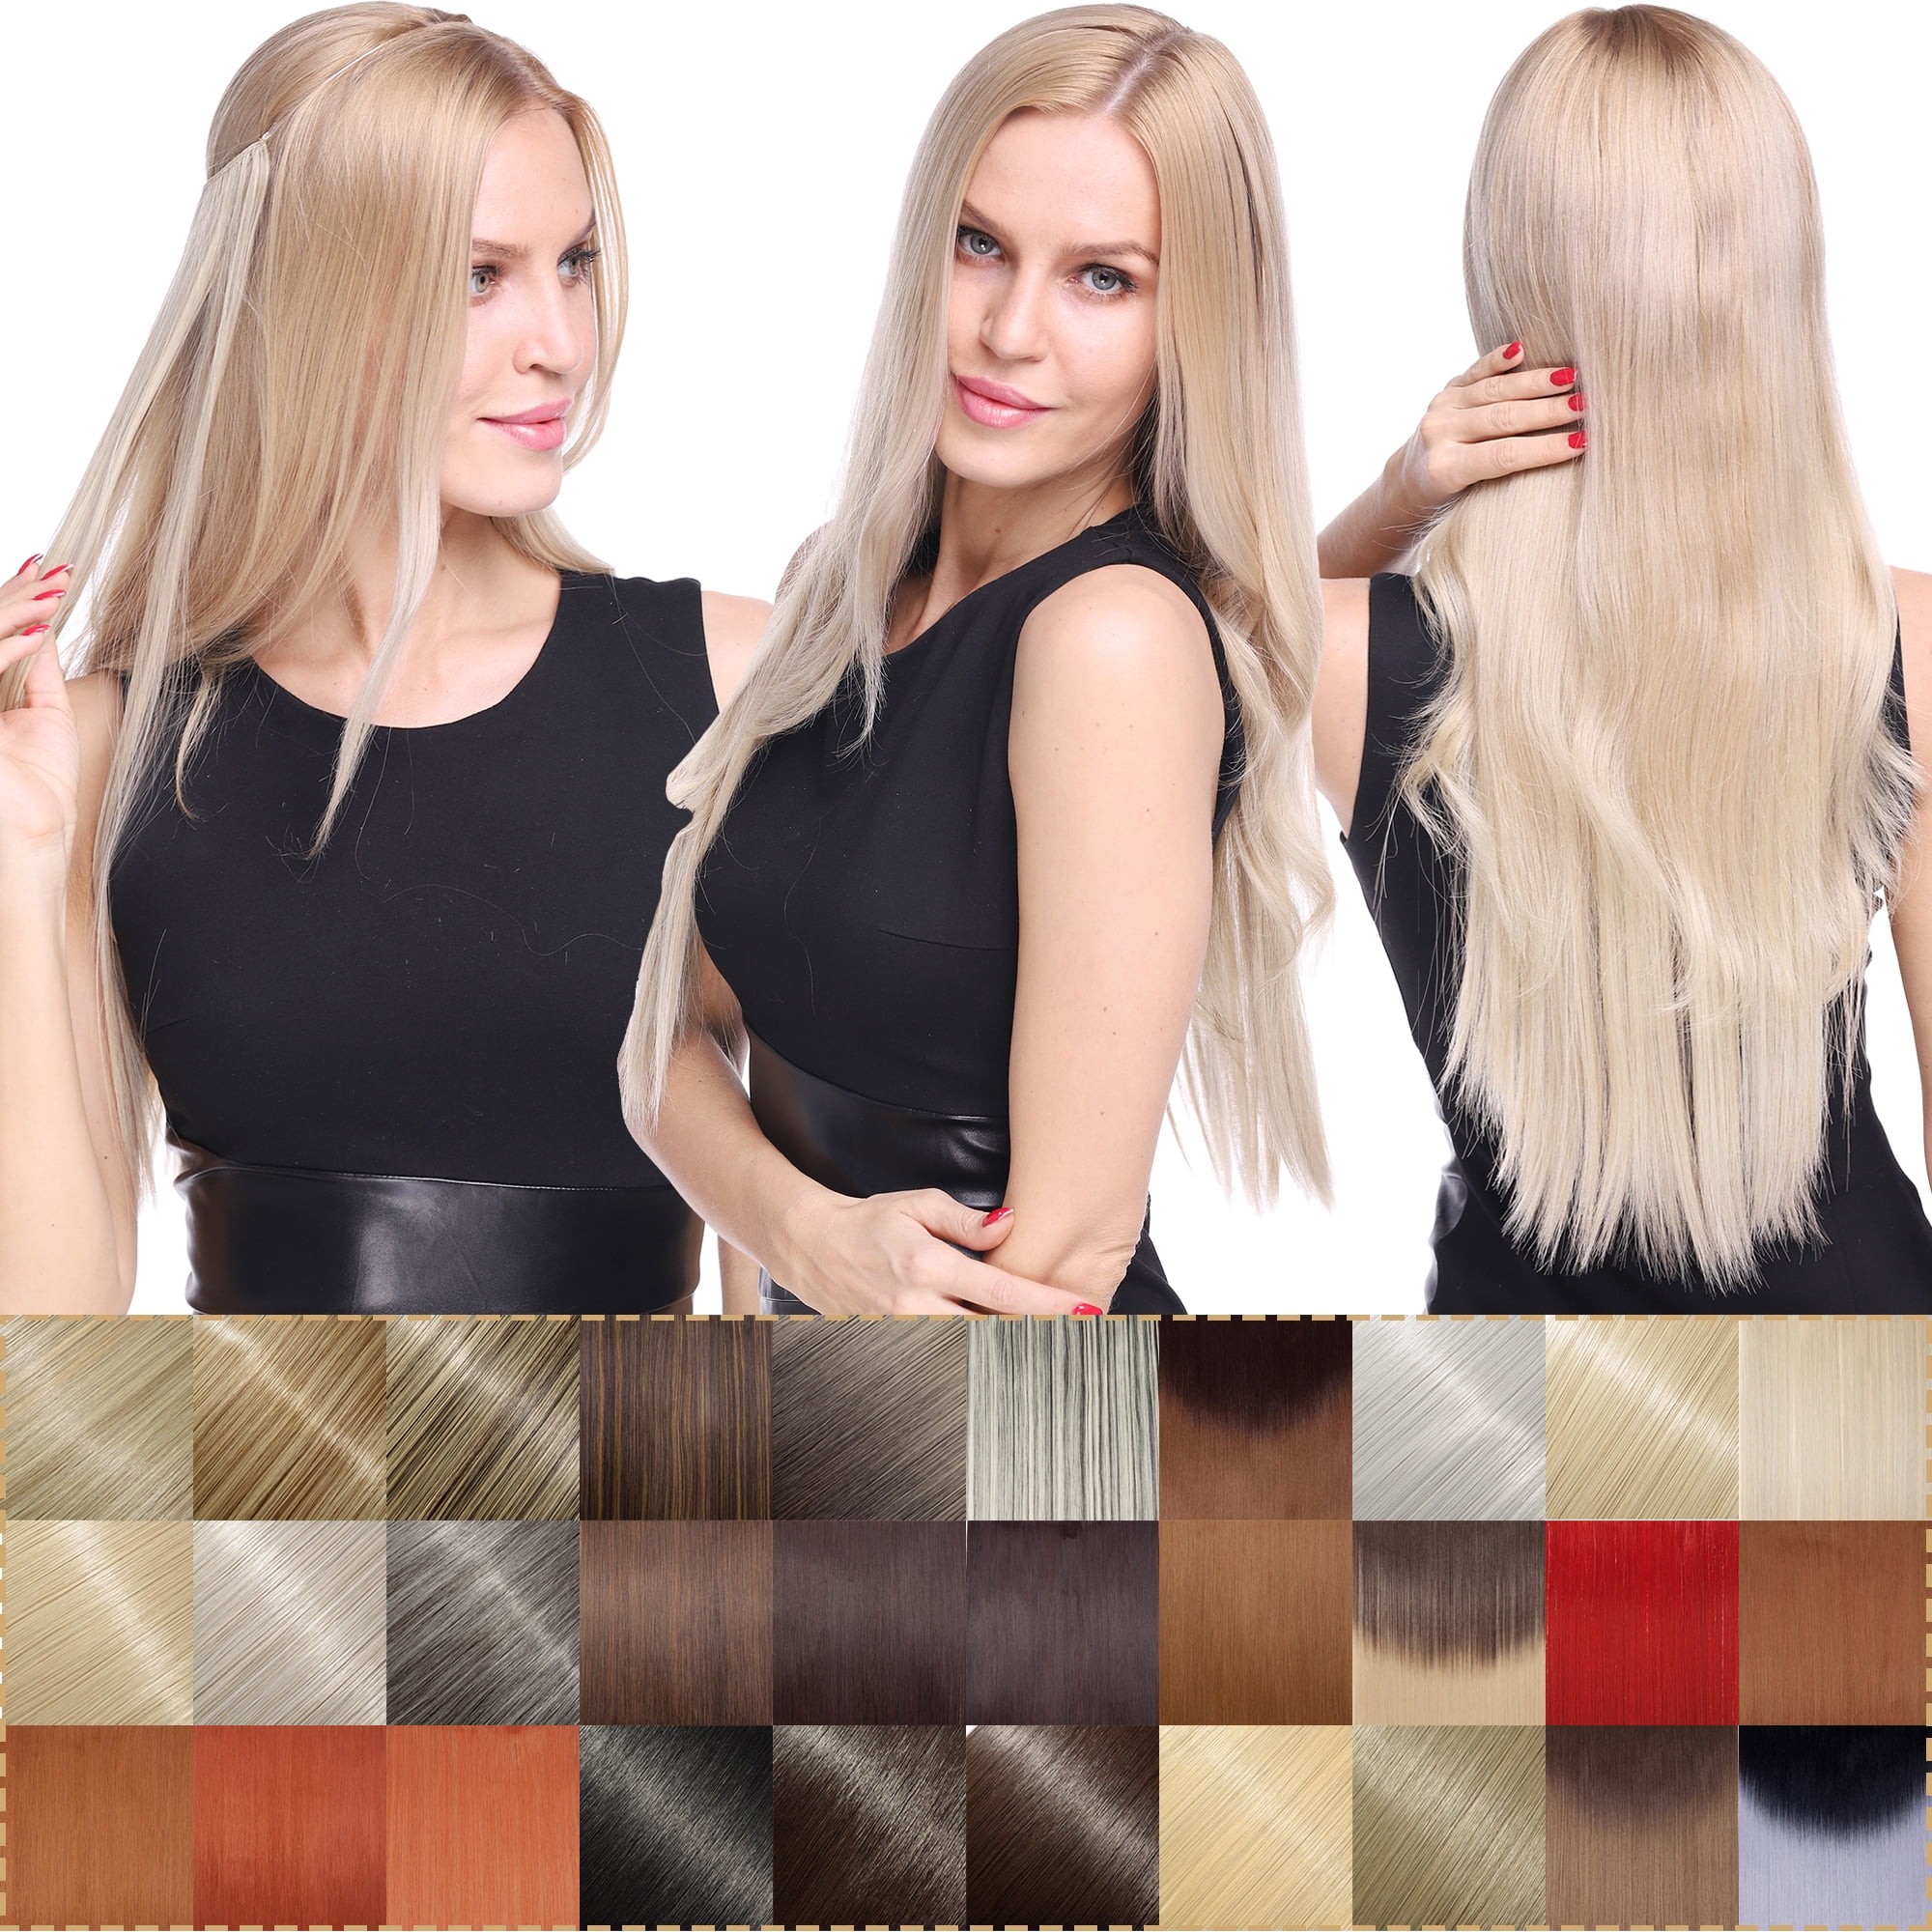
Considering Hair Texture and Color
Firstly, match the texture of the extensions to your natural hair. Smooth extensions work well with straight hair, while wavy or curly types blend better with textured hair. Color is crucial, too. Choose a shade that complements your existing hair color, or opt for a professional match for seamless integration.
Understanding the Quality of Hair
The quality of hair extensions affects their look, feel, and longevity. Remy hair is a top choice, known for its cuticle alignment and natural appearance. Synthetic options are budget-friendly but may look less natural and have a shorter lifespan.
Determining the Right Quantity for Fullness
Lastly, consider how full you want your hair to look. Typically, more wefts or strands mean more volume. Consult with a professional to gauge the number of extensions needed for a balanced and natural-looking fullness.
Installation Guide for 20 Inch Hair Extensions
Preparing Your Natural Hair
Before installing your 20 inch extensions, it’s essential to prepare your natural hair. Wash and condition your hair to remove any buildup of oils and products. Dry thoroughly, as damp hair can lead to slippage or mold if extensions are applied improperly. Detangle your hair gently with a wide-tooth comb to avoid any snags during the installation.
Step-by-Step Installation Process
A precise step-by-step process can help minimize damage and maximize the lifespan of your extensions. If using clip-ins, start from the bottom of your head and work up, clipping in each weft securely but without too much tension. For more permanent options like tape-ins or sew-ins, section out your hair and apply the wefts evenly spaced, ensuring they blend with your natural hair. Micro link extensions require small sections of your hair threaded through the bead with the extension then clamped onto it.
Professional vs. DIY Installation
Deciding between a professional installation and a DIY approach is important. Professionals have the skills to minimize damage and make the extensions look natural. However, clip-in extensions are an excellent choice for those who prefer the DIY route. With the right tools and some practice, you can achieve a salon-worthy look at home. Remember, investing in professional installation can save time and prevent potential mistakes that could damage both your hair and the extensions.
Care and Maintenance of 20 Inch Extensions
Proper care keeps your 20 inch hair extensions looking fresh and extends their lifespan. Let’s look at essential tips for maintaining your lush locks.
Washing and Conditioning Tips
Wash extensions gently using a sulfate-free shampoo to preserve their quality. Always use lukewarm water and follow with a moisturizing conditioner. When conditioning, avoid the root area to prevent weakening the bonds or clips. Pat your extensions dry with a soft towel—never rub them.
Brushing and Detangling
Regular brushing prevents tangles and maintains the extensions’ smoothness. Use a soft bristle brush or a special extension-friendly detangling brush. Start from the ends and work your way up to the roots to minimize pulling and stress on the hair.
Protecting Extensions from Damage
Protect your 20 inch hair extensions from heat damage by using a heat protectant spray before styling. Limit the use of hot tools like straighteners and curling irons. When sleeping, braid your hair loosely to prevent tangling, and consider using a silk pillowcase to reduce friction.

Styling Tips and Tricks
While 20 inch hair extensions offer instant length and volume, styling them naturally is key. Here are some tips and tricks to enhance your extended locks.
Creating Natural-Looking Layers
To blend your 20 inch hair extensions seamlessly, layer them. Have a stylist trim the extensions to match your haircut. This creates a gradual transition that mimics natural hair. It prevents a blocky or uneven look, making your mane appear fuller and more natural.
Updos and Styling Ideas for Long Extensions
Long extensions open up a world of styling. Try elegant updos like chignons or high buns for special events. For daily wear, consider simpler styles like a ponytail or a braided crown that showcase the length. Remember to secure styles gently to avoid stressing the extensions.
Incorporating Accessories
Accessories add flair to any hairstyle. Use headbands, ribbons, or decorative clips to dress up your 20 inch hair extensions. They not only enhance your look but can also help keep your extensions in place. Choose accessories that complement the color and texture of your hair for a cohesive style.
When to Replace Your 20 Inch Hair Extensions
Knowing when to replace your 20 inch hair extensions is critical for maintaining a natural and vibrant look. Different types have varying lifespans, and it’s important to recognize the signs of wear and tear. Keep your style fresh by understanding when it’s time for an upgrade.
Lifespan of Different Extension Types
Each type of 20 inch hair extension comes with an expected lifespan. Clip-ins, being temporary, can last a year or more with proper care. Sew-in wefts may need replacing every 6 to 8 weeks, as your natural hair grows out. Tape-ins often last between 4 to 8 weeks, while micro links can stay put for up to 3 months. Remember, these timelines can vary based on how well you maintain the extensions.
Signs of Wear and Tear
Over time, your 20 inch hair extensions will show signs of aging. Look out for matting, excessive tangling, or a decrease in shine. If the extensions appear dry or brittle despite regular conditioning, it’s likely time for a new set. Also, if the bonds or tapes begin to loosen, causing slipping or uncomfortable tugging at the roots, consider this a sign to replace them.
Upgrading to New Extensions
When your current extensions have reached the end of their lifespan, it’s an opportunity to upgrade. You might choose a higher quality hair, like Remy, or a different type that suits your current lifestyle better. Upgrading is not only about maintaining your look but also about ensuring your natural hair remains damage-free and healthy.