Glue-In Hair Extensions: How to Apply Glue-In Hair Extension
Contents
hide
Introduction to Glue-In Hair Extensions
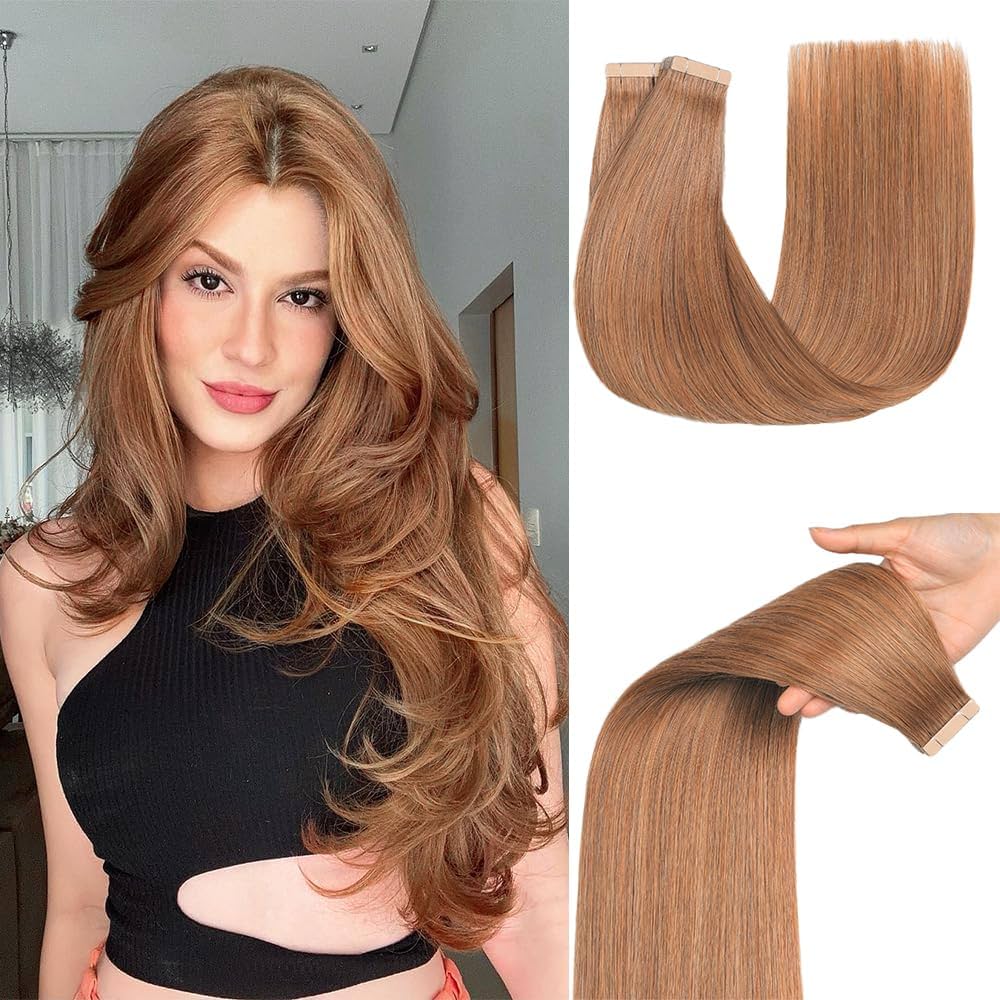
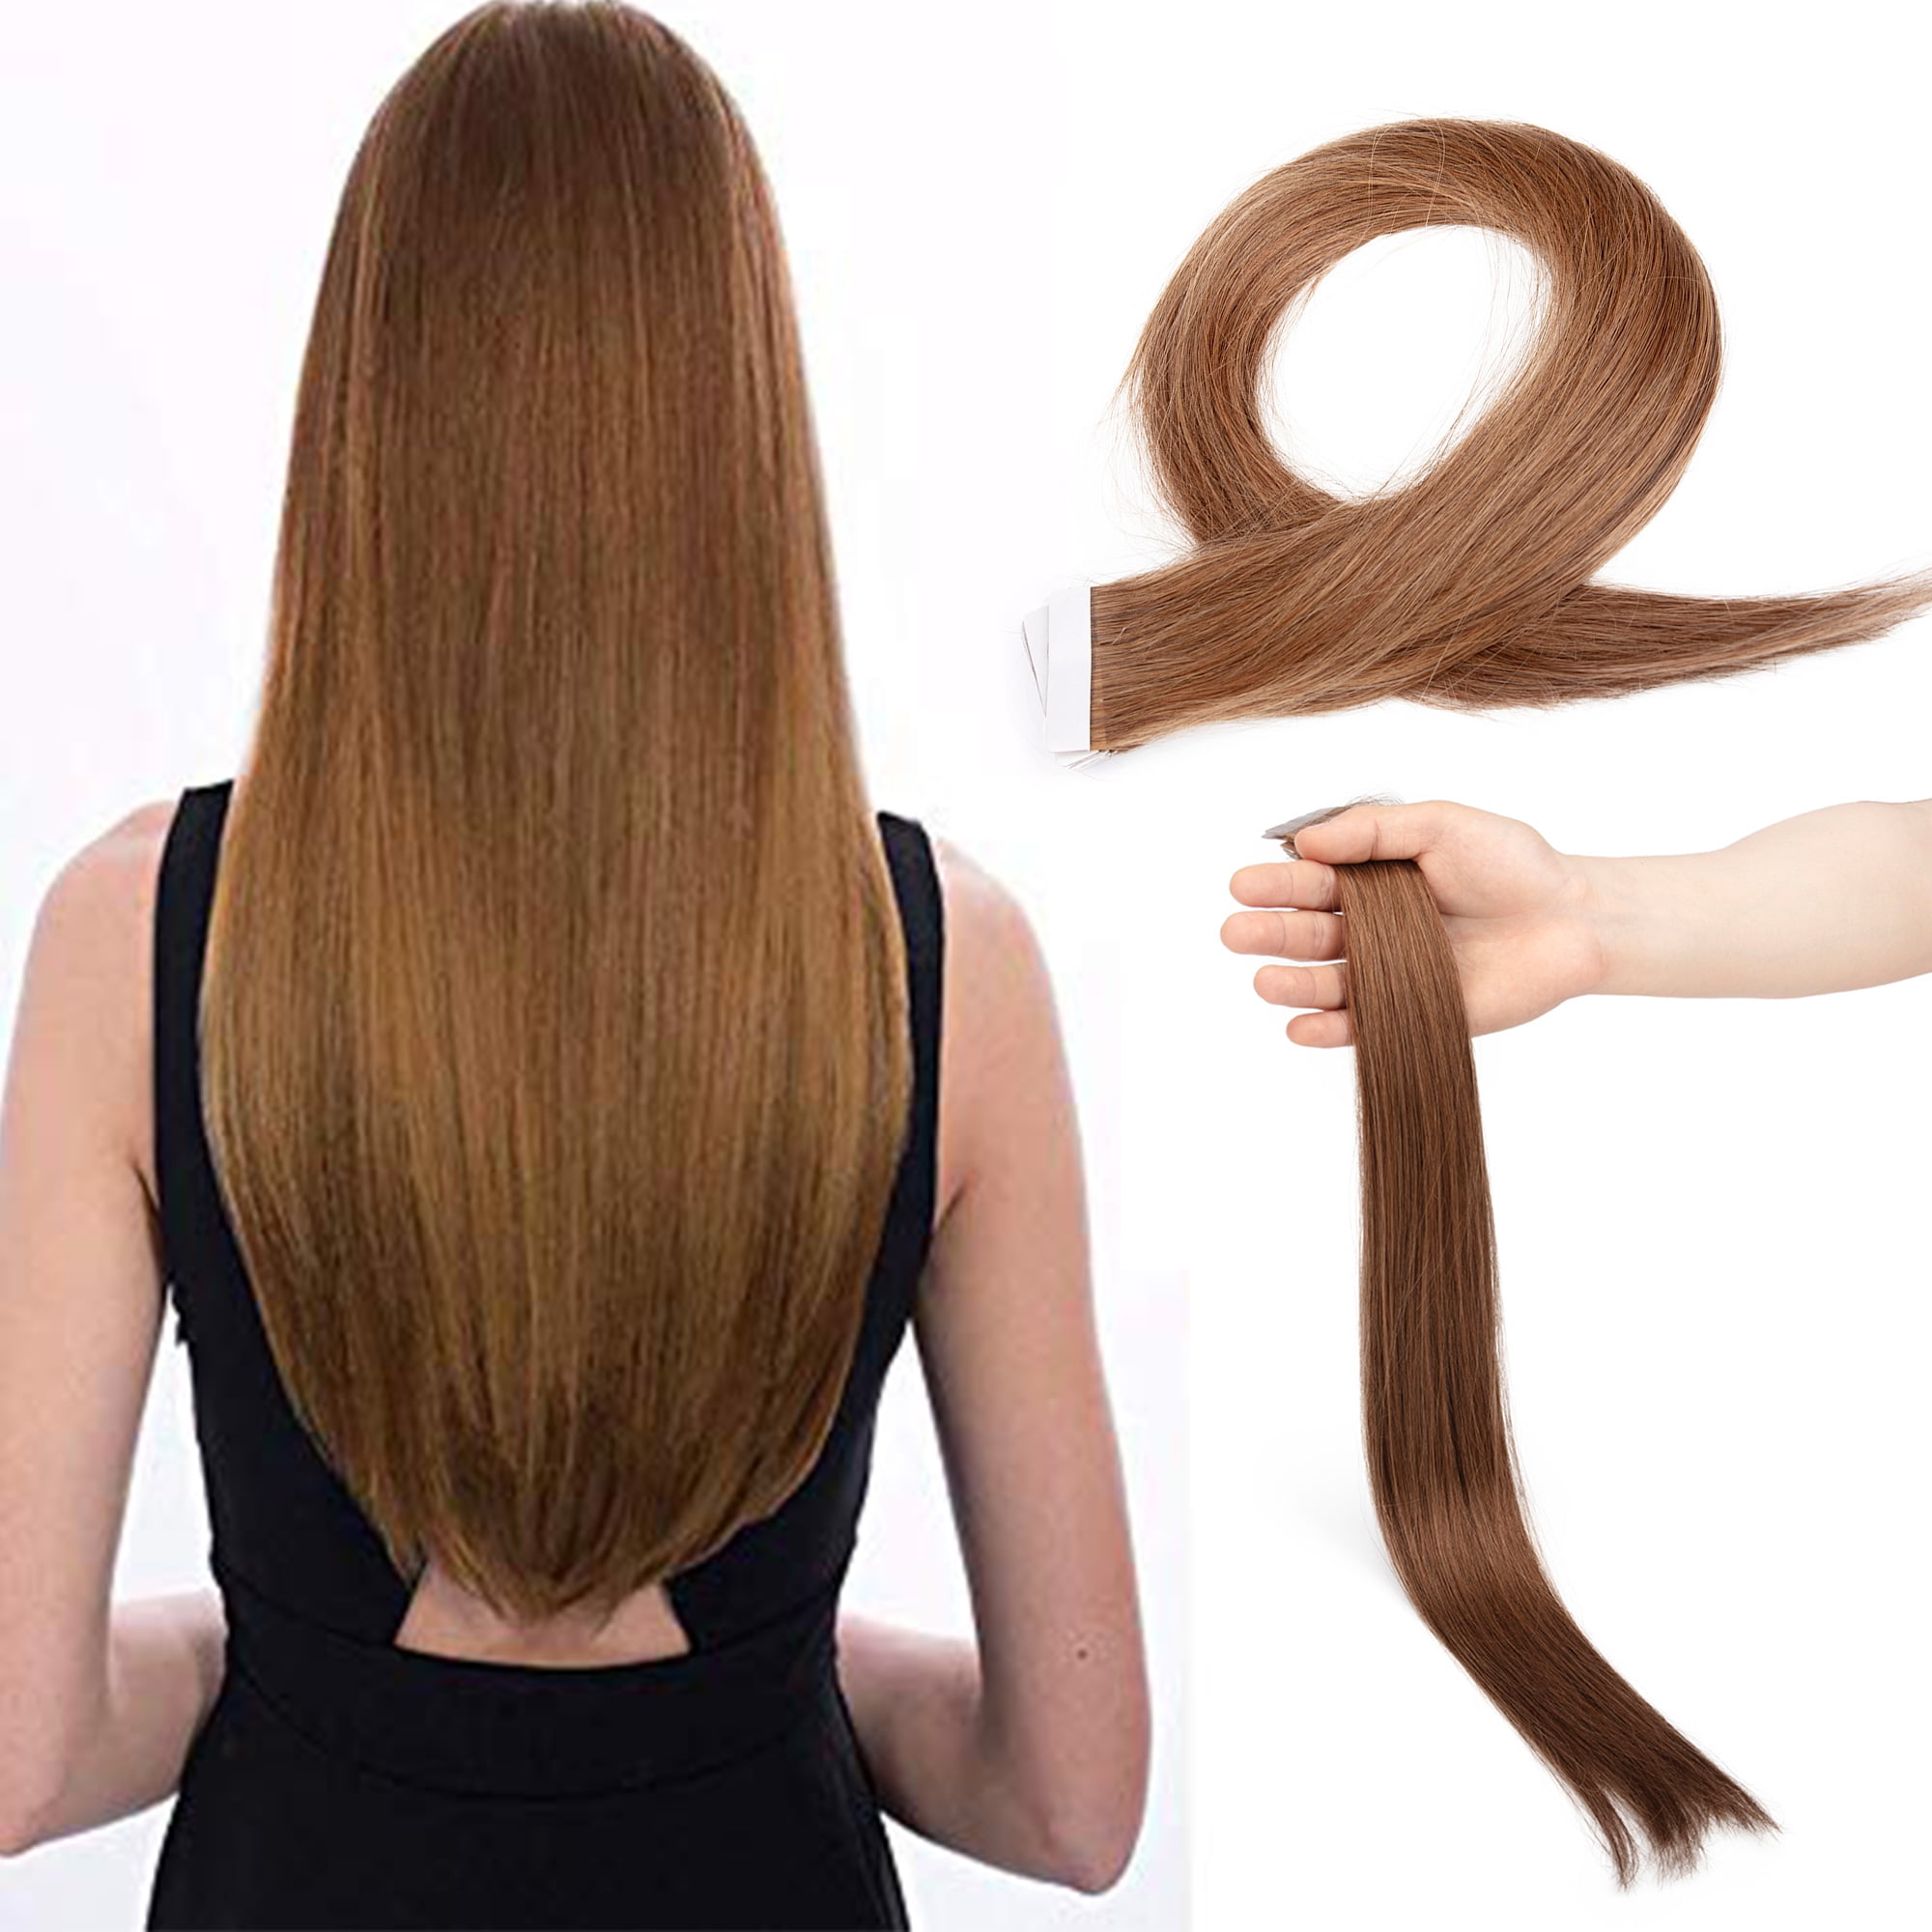
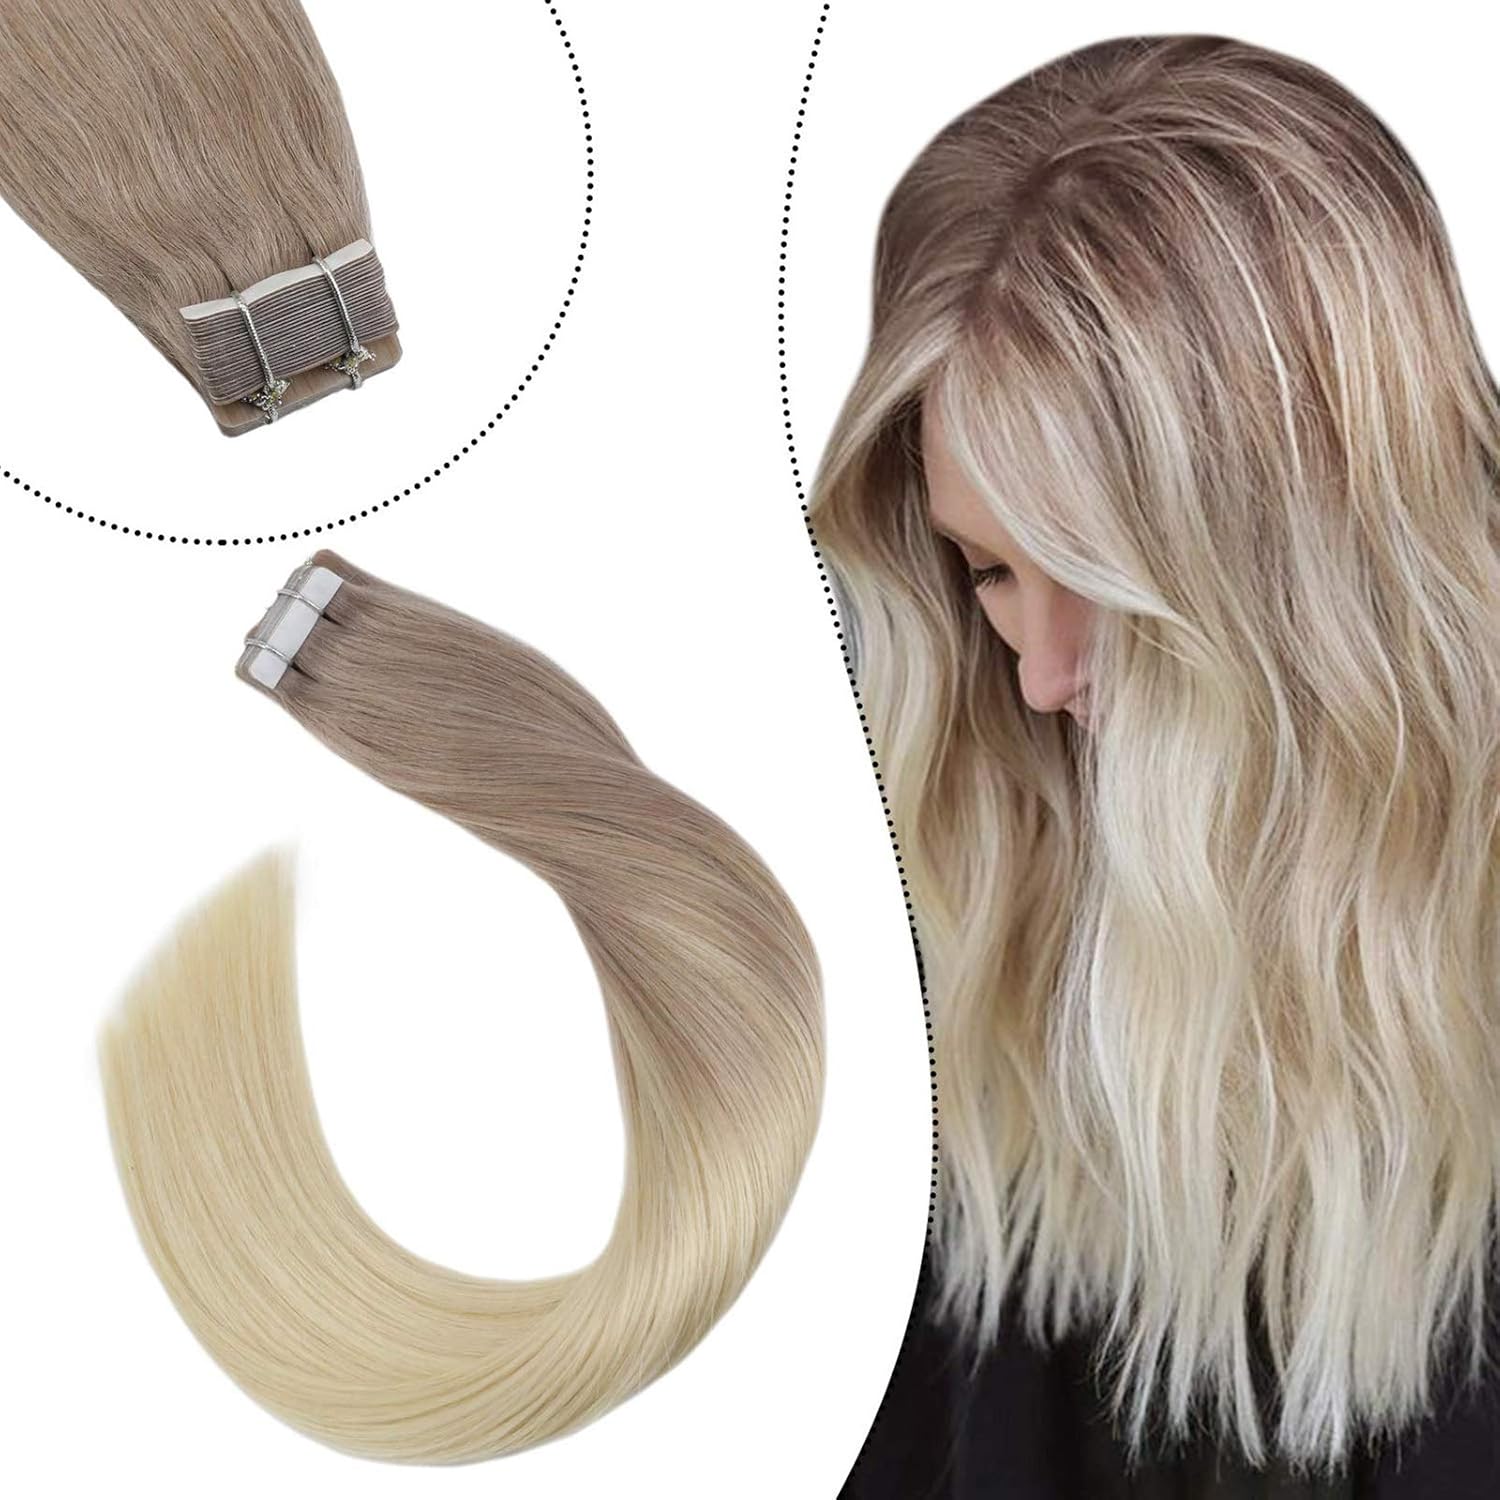
Glue-in hair extensions add length and volume to your natural hair. This popular method bonds extensions to your hair with a special adhesive. A variety of styles and colors match your natural hair seamlessly. Glue-in hair extensions require precision and care. A professional stylist typically applies them for a secure and natural look. They offer a semi-permanent solution for those wanting long-lasting results. Right maintenance can extend their lifespan. It’s crucial to understand the process before making a decision.
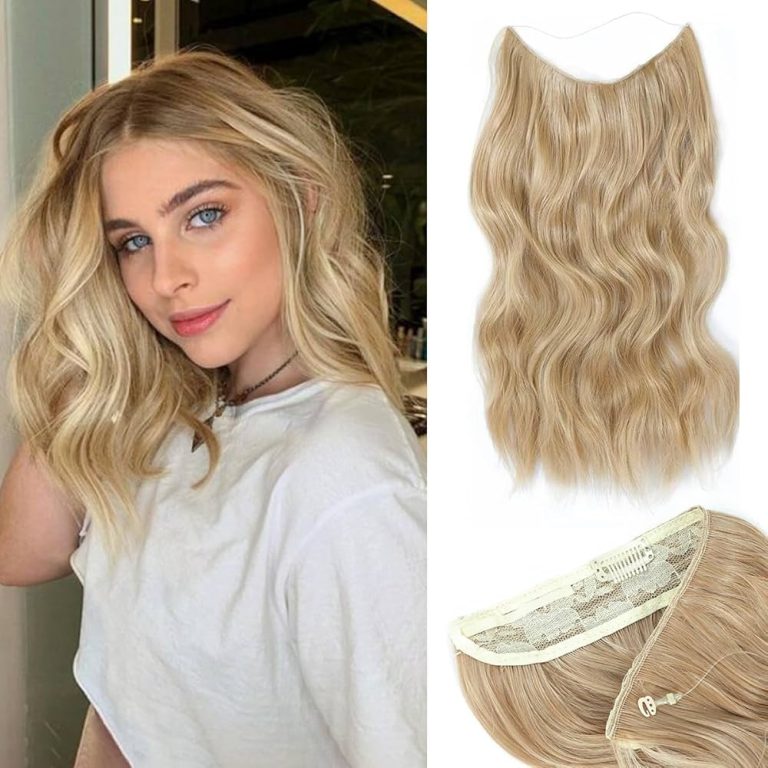
Types of Glue-In Hair Extensions
When considering glue in hair extensions, you have various options to choose from. The two main types are:
U-Tip (Nail Tip) Extensions
U-tip extensions, also known as nail tip, involve a keratin adhesive shaped like a nail. A heating tool melts the keratin to attach the extension to your natural hair. They are known for a secure bond that lasts for months.
I-Tip (Stick Tip) Extensions
I-tip extensions, or stick tips, use a non-heated method. Small sections of your hair are threaded through a micro ring. The extension is then inserted and clamped with the hair inside the ring. It’s a cold application, with no need for heat or glue.
Each type offers different benefits. U-tips give a long-lasting hold. They work well with thicker hair. I-tips are more gentle. They suit fine or damaged hair. Ensure to discuss with a stylist to pick the best match for your hair type and lifestyle. They will help you achieve the look you desire without compromising the health of your natural hair.

How to Apply Glue-In Hair Extensions
Applying glue in hair extensions involves several steps. It’s a delicate process best left to professionals. Below is a basic overview of the application process.
Step 1: Hair Preparation
Before applying the extensions, wash your hair. Avoid using conditioner. It may prevent the glue from bonding properly. A stylist will then dry your natural hair thoroughly.
Step 2: Sectioning the Hair
A stylist separates your hair into sections. They will work from the bottom up. Small, thin sections ensure a more natural look and secure attachment.
Step 3: Applying the Glue
The stylist applies a small bead of glue onto the end of the extension. They avoid using too much, which can cause slippage. The adhesive must be compatible with the glue in hair extensions.
Step 4: Attaching the Extension
The stylist carefully places the extension onto a small section of your hair. For U-tips, a heating tool melts the glue for bonding. For I-tips, no heat is needed.
Step 5: Setting the Extensions
After attaching, the stylist presses the glued area gently. This ensures a secure bond with your natural hair. The extensions need to set without disturbance.
Step 6: Blending and Styling
Once the glue sets, styles the extensions. They trim and blend them into your natural hair. This step hides the attachments and gives a seamless finish.
Precaution and accuracy are key in the application process. A wrong move can affect the bonding and overall look. Always choose a trusted stylist experienced with glue in hair extensions.
Pros and Cons of Glue-In Hair Extensions
Glue-in hair extensions come with benefits and drawbacks. Like all hair extension methods, they have unique features. Consider these before choosing them.
Pros
- Longevity: Glue-in hair extensions can last several months with proper care. They are a semi-permanent solution for those seeking long-term results.
- Seamless Look: When applied by a skilled stylist, they blend well. They can look just like your natural hair.
- Volume and Length: They instantly add volume and length. This change can boost your confidence.
- Variety: A wide range of colors and styles are available. This variety makes it easy to match with your natural hair.
Cons
- Potential Damage: The glue and the removal process can damage your natural hair. Be sure to go to a trained professional.
- Maintenance: They require regular upkeep. This maintenance includes professional touch-ups and at-home care.
- Cost: They can be costlier than other types of extensions. Consider this in your beauty budget.
- Application Time: The process is time-consuming. It can take several hours to apply a full set.
Weigh these pros and cons carefully. Talk with a stylist to make an informed choice that suits your needs and lifestyle.
Maintenance Tips for Glue-In Hair Extensions
To ensure that your glue in hair extensions look their best and last as long as possible, follow these maintenance tips:
Regular Washing and Conditioning
Wash your extensions gently every 2-3 days to avoid build-up. Use sulfate-free shampoo on the scalp. Apply conditioner from mid-shaft to ends, not on bonds.
Gentle Brushing
Detangle with a soft-bristle brush. Start from the ends and work upwards. Avoid pulling or tugging at the bond areas.
Avoid High Heat
Minimize the use of heat styling tools. If necessary, use a heat protectant. Do not apply heat directly to the bonds, as this can weaken them.
Sleep Care
Tie your hair in a loose ponytail or braid before bed. This prevents tangling. Consider a silk pillowcase to reduce friction.
Swimming and Exercise
Wear a cap to keep chlorine and saltwater away from the hair. After swimming, rinse your hair thoroughly. Sweat can also break down the bonds, so rinse after exercise.
Salon Visits
Schedule regular appointments with your stylist for check-ups. They will address any loose extensions and advise on home care.
By sticking to these care practices, you can enjoy your voluminous, lengthy hairstyle for a longer time. Remember, the better you care for your extensions, the longer they will last.
Removal Process for Glue-In Hair Extensions
When it’s time to remove your glue in hair extensions, it’s important to follow a proper process. Professional removal minimizes damage to your natural hair. Here is a step-by-step guide on how to safely remove glue-in hair extensions:
Step 1: Consultation with Stylist
Book an appointment with a stylist experienced in hair extension removal. They will evaluate the condition of your extensions.
Step 2: Apply Removal Solution
The stylist will apply a removal solution designed to break down the adhesive without harming your hair.
Step 3: Gently Separate Extensions
After the solution has set, the stylist will gently separate the extensions from your natural hair. They will take care to avoid pulling too hard.
Step 4: Comb Out Residue
Any glue residue left in your hair will be carefully combed out with a fine-tooth comb. Patience is key during this step to prevent damage.
Step 5: Wash and Condition
Your hair will be washed to remove any remaining glue. A nourishing conditioner restores moisture after the chemical treatment.
Step 6: Hair Assessment
The stylist will assess your natural hair. They will trim if necessary and suggest treatments to help with any damage.
Attempting to remove the extensions at home can lead to hair breakage and loss. It’s best to have glue in hair extensions removed by a professional. They have the proper tools and expertise to do it safely.
Cost Comparison: Glue-In vs. Other Types of Hair Extensions
When choosing hair extension types, cost is a key factor. It’s vital to understand how glue in hair extensions stack up against other options financially. Here’s a basic breakdown of the costs involved in glue-in versus other types of hair extensions.
Initial Cost
The upfront cost for glue in hair extensions typically includes the hair and application. High-quality extensions and professional application can be pricey. However, different extension types come with varying price tags. For example, clip-ins are often less expensive than glue-ins. Sew-ins and tape-ins may fall in a similar range as glue-ins, but their costs can vary based on hair quality and application time.
Maintenance Costs
Maintaining your extensions adds to the overall cost. Glue-ins require touch-ups every 4-6 weeks. This maintenance can add up over time. Clip-ins have minimal repeat costs because they are removable. Tape-ins and sew-ins also need maintenance, potentially leading to similar costs as glue-ins over the lifespan of the hair.
Removal and Reapplication
Eventually, all hair extensions require removal or reapplication. The cost for removing glue-ins is usually bundled with the cost of reapplication or replacement. This could make glue-ins more expensive in the long run compared to temporary options like clip-ins, but potentially on par with sew-ins and tape-ins depending on their lifespan and care.
DIY vs. Salon
DIY application can save money. Clip-ins and some tape-ins can be self-applied. However, glue-in hair extensions demand a skilled stylist. The expertise required for glue-ins means a higher cost at the salon, but this ensures a professional finish and reduces the risk of damage.
Hair Quality
The type of hair used also influences the cost. Synthetic extensions are cheaper than human hair options. While glue-ins primarily use human hair for a natural look, other types like clip-ins can come in both human and synthetic varieties, influencing their initial and total costs.
Overall, while glue in hair extensions may appear costlier upfront and require ongoing maintenance, they offer longevity and a seamless look that could justify the investment. Discuss with a stylist to understand the full cost implications and select the best type for your needs and budget.
Common Mistakes and How to Avoid Them
When it comes to glue in hair extensions, certain errors can affect their look and durability. Here are common mistakes and ways to prevent them:
Choosing the Wrong Type of Extensions
Picking extensions ill-suited for your hair type leads to issues. Thick hair may not hold fine extensions well, and vice versa. Always consult a stylist to select the right match for your hair.
Skipping Professional Application
Applying extensions at home might seem cost-effective, but it often results in errors. Incorrect application can cause damage. A skilled stylist ensures a safe and aesthetically pleasing application.
Neglecting Proper Maintenance
Extensions need regular care to stay fresh. Forgetting to brush or wash them can lead to tangling and buildup. Follow the maintenance tips outlined previously to keep your extensions in top shape.
Using the Wrong Products
Certain hair products can weaken extension glue. Stick to recommended products, particularly those free of sulfates and alcohol. Always check with your stylist if you’re unsure about a product.
Overusing Heat Tools
Excessive heat can damage extensions and melt the bond. Limit heat styling and when necessary, use a protectant. Keep tools away from the bond area to avoid weakening the glue.
Not Preparing Hair Before Application
Pre-application hair care is crucial for the extensions to set properly. Failing to wash and dry your hair beforehand can prevent the glue from bonding. Stick to the process steps for the best results.
Rough Handling While Styling
Being too aggressive with your extensions can loosen them. Handle your hair with care, especially when brushing or styling. Gentle and patient actions will extend the life of your extensions.
By avoiding these mistakes, you safeguard both your natural hair and the extensions. Regular salon visits help catch any issues early. Follow these tips for a beautiful and lasting hair extension experience.